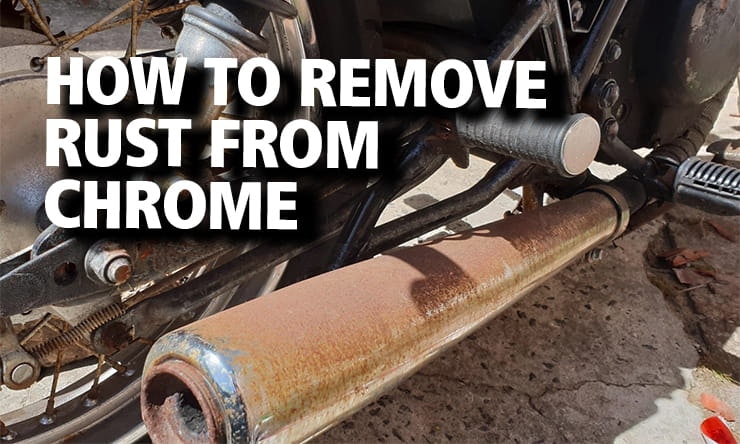
Let’s start with some pedantry. Though a bit of chrome might look rusty, chrome doesn’t actually rust. What you’re seeing is rust from steel beneath the chrome plating, where an imperfection or chip in the chrome has let water in. Chrome does oxidise over time, so it might look slightly dull if the manufacturer’s surface coating has been polished off over the years, but it can’t rust like steel – that’s one reason why it’s used as a plating. Because chrome is a surface coating, there’s only so much you can do before admitting defeat – it’s not like a solid stainless-steel exhaust where you can polish imperfections until it gleams like new. However, if you catch chrome pitting early, you can minimise its appearance and prevent it getting worse. And you can protect chrome by making sure the surface coating is in good order by giving it a light rub over with a chrome polish.
Why are motorcycles so prone to rusty chrome?
Because a lot of a bike’s chrome is sitting out in the breeze and is an easy target for errant stones to chip and then get doused in water, either from wet roads or a jet wash. Road salt makes the situation much, much worse because it speeds up the rusting process.
How to clean rust from your bike’s chrome
If there’s minor pitting and some light rust, you’re in with a chance of salvaging the situation. If there’s any chrome flaking off, it’s time to go to stage 6). Here’s the process:
Give the area a good wash with soapy water. Assess the damage. If there are flakes, go to 4). If not, proceed to 2).
Rub the area down with aluminium kitchen foil and a bit of water. Some people swear by using Coke, but it’s actually the aluminum foil that does most of the work by having enough friction to create a bit of heat which then allows a chemical reaction with the aluminium to break down the rust (this appears on the used foil as a dark coating).
Rub gently. The foil is softer than chrome, so shouldn’t scratch the surface, but the idea is to use the chemical reaction to clean the rust off, not brute force. If you want to use Coke (it has some phosphoric acid in, so does do something), we recommend Diet Coke – it’s less sticky.
Rinse, clean, and repeat the foil stage on any stubborn bits of pitting.
Use a chrome polish (Autosol do one) to bring the surface up to a high shine and protect it from further pitting. Don’t forget that the chrome layer is very thin, so using aggressive polishes will eventually wear through it. If the surface just needs a buff, a wax polish or glass cleaner is safest.
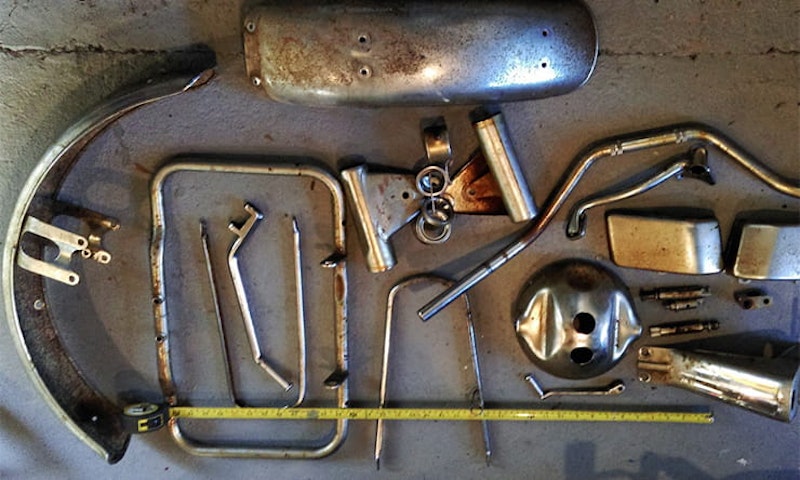
If the cleaning and polishing has revealed chrome chips or flakes, then that’s the end of the DIY process – you can buy chrome paints, but they’re no match for real chrome and used as a touch up they look like what they are: optimistic bodging. Your only options then are to remove all the chrome, and polish what’s below (feasible for a footrest guard, less so for a fork leg), send the item away to be re-chromed or buy new.
Because so many classic bikes need parts re-chroming, there’s a thriving industry out there (ashfordchroming.com is one of the biggest players). But environmental regulations mean it’s no longer a cheap option and is often more expensive than buying a replacement part. It all depends whether you want to keep the original…

